
 |
| Bugzzle - A buggy puzzle with 40 challenges. |
Choose a pattern card and use the curved pieces to create that pattern in the Bugzzle base.
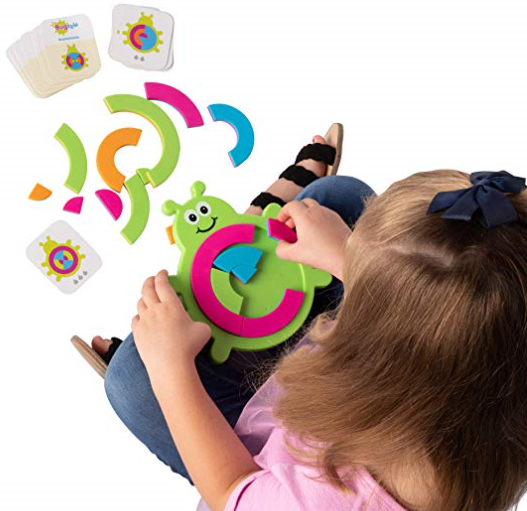
The Bugzzle base and pieces are made of plastic. There are four different piece colors - green, orange, blue and pink - and each piece has one color on one side and another color on the flip side. The orange pieces are green on the back and the blue pieces are pink on the back. It is made of lightweight plastic but has been durable.
There will be the equivalent of two outer rings and a circle in the middle when each puzzle is complete. The puzzle cards measure 2.5" x 3" and the puzzles get more difficult as you go, each card rated in difficulty from 1 - 4. There are small grey bugs at the bottom of the cards that will show you into which level each puzzle falls (see image below). On one side of each card the pattern will show each piece with a black outline, a good place for beginners to start. The other side of the card shows the finished model with no lines around the pieces, so it will be more difficult to complete. Master the side with the outlines then flip the cards and master the side without the outlines. The number of puzzles for each level are:
- Level 1 - 4 puzzles
- Level 2 - 10 puzzles
- Level 3 - 11 puzzles
- Level 4 - 15 puzzles
 |
| Front of one card from each difficulty level. |
 |
| Back (solution) side of the four cards from above. |
UPDATE: I was using this in therapy today with a child who was building from the solution side of the cards and I came across a couple of cards that did not work (see below). There is only one large, orange half circle and the flip side of it is green. The two cards below show a large half circle of green and one of orange. It is not doable because there are on opposite sides of the same piece. You can, however, build the puzzle if you know to use two of the quarters circles for either one of the half circles. Or, you could just take a pen and draw a line down the middle of one of the halves, so that is will be seen as two quarters. Problem solved.
UPDATE 2: I continued to use this in therapy and continued to pull out cards with patterns that were not doable. So I sat down and solved every single puzzle and came up with a total of 7 that are not doable as printed on the card. Six of them could be corrected by drawing one line to divide a piece. Here is a picture of the cards with my corrections drawn in. The bottom one could not be corrected because it shows three small blue pieces and there are only two. I have used this game a lot since correcting the flaws myself.
 |
| Cards with errors and my corrections. |
For more of this type of activity, see my post on What's in Your Therapy Box? Pattern Blocks Edition.
Try this:
- Play with the pieces before assembling the puzzle. Show how they fit together. Allow the individual to make his own design.
- Ask the individual to assemble the puzzle from the back of the card (showing the lines around each piece), then disassemble the puzzle, turn the card over and assemble from the front. Or go through the deck assembling each puzzle from the back and then go through assembling them from the front.
- Work a puzzle from a card as the individual watches. Then take it apart and ask the individual to solve it.
- Build a puzzle yourself. Give the player a few cards and ask him to find the matching pattern card. Turn the puzzle into a different orientation and see if he can find it.
- Coach the individual to start with the outside ring if he is looking at a card and doesn't know where to begin. Then add second ring, then third.
- Ask the individual to turn each piece in-hand as he picks them up in the incorrect orientation.
- Place a piece as the individual watches if he gets stuck. Then take the piece out, change the orientation and hand it to the individual to place.
- Make sure some of the pieces the individual will need are turned to the wrong color so that he can practice turning them in-hand when he picks them up.
- Set out the pieces for each ring - outer, inner, middle - in the order that you want the individual to assemble them (outside to inside).
- Work
on visual discrimination, visual closure, spatial relations, visual
form constancy, figure ground, eye-hand coordination, manual dexterity,
in-hand manipulation, logic, problem solving, process skills, executive functioning skills, play
and leisure exploration and participation
In the box: Bug puzzle base, 18 plastic pieces, 40 pattern cards

No comments:
Post a Comment
Thank you for taking the time to comment.