
 |
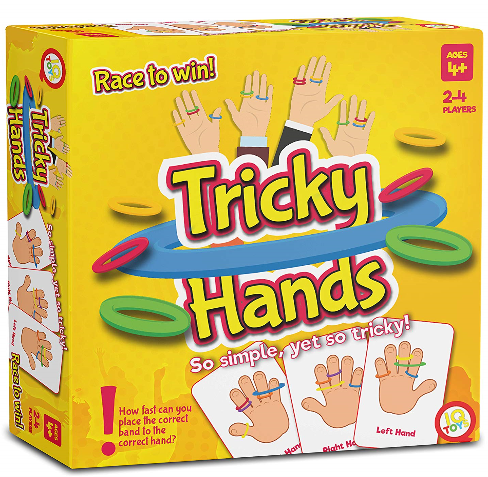
Tricky Hands - Five finger fun. |
The goal of Tricky Hands is to use the bands to recreate the
pattern from the card on your own hand(s). Great for working on spatial relations and hand skills.
 The Tricky Hands bands are the small type hair bands that you might find
at a dollar store. They fit snug enough not to fall off but are not
tight. The pattern cards are not laminated but are a card stock. They start easy (one band per finger) and get more difficult as you go (multiple bands/colors per finger and then bands stretched across two fingers). However, the cards are
not numbered or color coded for difficulty, so I sort through ahead of time and stack them. You could also number them yourself.
The Tricky Hands bands are the small type hair bands that you might find
at a dollar store. They fit snug enough not to fall off but are not
tight. The pattern cards are not laminated but are a card stock. They start easy (one band per finger) and get more difficult as you go (multiple bands/colors per finger and then bands stretched across two fingers). However, the cards are
not numbered or color coded for difficulty, so I sort through ahead of time and stack them. You could also number them yourself.

Try this:

Try this:
- Model putting
the bands on your own fingers, especially the 2-finger wide. Ask the individual to imitate you.
- Suggest for
2-finger bands putting it on the longest finger first so it doesn't come
off as you go to the shorter finger.
- Start with the
1-finger band challenges before moving to the 2-finger challenges.
- Follow a card pattern and put the bands on your own hand. Then show the individual two cards, one being the card you followed, and ask them to identify the card that matches your hand. Keep adding cards to pick from as the individual improves. Try showing your hand backward, and see if they can still recognize the right card.
- Use consistent positional
language when working such as under, on top of, next to, to the right of,
etc.
- Use a piece of white paper to cover the bands you are not to yet. I have found some have trouble starting at the bottom and working up, so if I cover the upper bands, it is clearer where they should be working.
- Put the bands on your own hand first and then ask the individual to put them on his hand in the same pattern. It may be easier to work from a 3D pattern than a 2D pattern.
- Ask the individual to compare his hand to yours or the pattern card if he makes a mistake. Can he find it and fix it?
- Grade for difficulty and work on all right hand cards. Then do the same for all left hand challenges. Then mix right and left.
- Ask the individual to put the bands on his fingers by following the colors that you call.
- Show the individual a card. Ask him to look at the card and memorize the colors and the order. Hide the card. Can the player put the bands on his hand in the correct order?
- Place a right hand and a left hand card in front of the individual. Give them one band at a time and ask them to put it on their hand. Give a band that would be out of order on one hand but in order on the other. Can they figure out which hand to put it on?
- Hold up one card at a time and use your thumb to cover the word at the bottom. Ask the individual to determine if they are looking at a right hand or a left hand.
- Use a pattern card and place the bands on your fingers correctly. Place several cards in a line in front of the individual, one of them being the correct card. Flip your hand palm up. Can the individual identify the pattern on your hand from the line of cards?
- Choose a pattern card. Ask the individual to turn his hand palm up and place the bands on is fingers according to the pattern on the card. Turn the hand over and check to see if the pattern is correct.
- Ask the individual to make a pattern from an easier card. Now place a more difficulty card in front of them. Can they move the bands that are on their hand to the new positions without taking any of them off? Additional bands may need to be added.
- Teach the names of the fingers - thumb, index/pointer/second, middle/third, ring/fourth, pinkie/fifth. Line up several rows of cards. Name a finger and a color and ask them to point to all cards that match. For instance, middle finger, orange.
- Shuffle the cards and place them on a face-up pile in front of the individual. Sort them into two piles - right and left. If the top card is a right hand, pick it up with the right hand and put it on a stack on the right side of the pile. If the top card is a left, pick it up with the left hand and place it on a stack on the left side of the pile. Continue until all the cards are sorted.
- Work on visual discrimination, spatial relations, visual closure, eye-hand coordination, finger isolation, manual dexterity, coordinated use of both hands, executive functioning skills, socialization skills, process skills, play exploration and participation
- In the box: 50 small bands, 50 challenge cards


